In order to enroll devices with Apple’s DEP, you’ll need to handle a few account setup pieces such as getting approved by Apple for DEP, connecting your DEP account with Moki and then specify the enrollment process for your DEP devices. Once your DEP setup is complete, you will then be able to configure your VPP account. Follow these steps below to continue enrolling devices.
DEP Configuration
Step 1 – Sign up for DEP with Apple
Apple’s DEP registration is easy. First off you’ll need to sign up with Apple, which you can do here. For more information on Apple’s DEP click here.
Two things to note:
- You must acquire a DUNS (Dun & Bradstreet) number to register for a DEP account. To do this, go to https://iupdate.dnb.com.
- You can complete this process online and in one session but bear in mind this registration is for your business. If you work for a large corporation you may already have a DUNS assigned so find out first.
Step 2 – Link your DEP Account and Moki
Once you are signed up with DEP follow these steps to connect your DEP account with Moki. Connect Moki and your DEP account.
- Login to Moki
- Click your account name in the top right and select “Account Settings.”


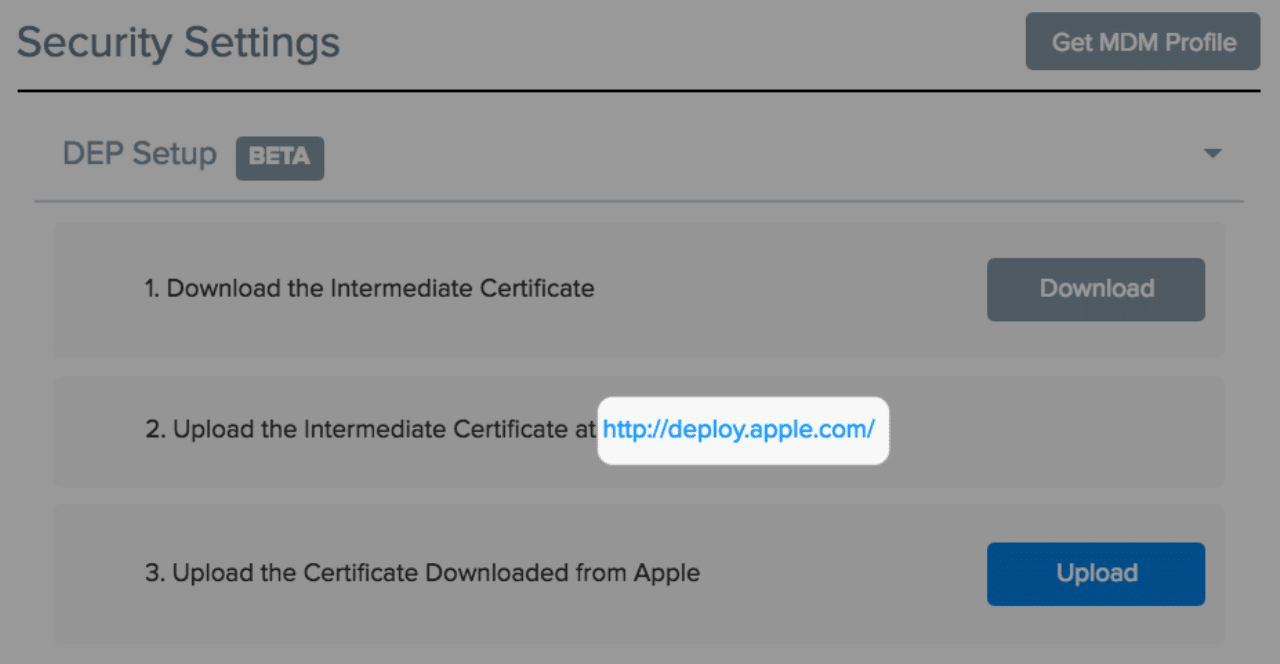
- Scroll down to DEP Setup and click Download in step 1.

- Scroll down to DEP Setup and click Download in step 1.

- Click the link in step 2 for https://deploy.apple.com (https://business.apple.com for business customers & https://school.apple.com for education customers) and login to your Apple DEP account.
- Click the link in step 2 for https://deploy.apple.com (https://business.apple.com for business customers & https://school.apple.com for education customers) and login to your Apple DEP account.

- Sign into your account.
- Sign into your account.
- Once you are signed into your account, click on “Settings” in the bottom left-hand corner of the page.
- Click “Device Management Settings”, then “Add MDM Server” icon towards the upper right-hand side of the screen.

- Give the server a name, select whether or not you would like to “release devices” (for more information on releasing devices, click here), and upload the .pem cert that you downloaded from Moki on step 3.
- Click “Save”.
- If you do not already have your new server selected, select it from the list of servers under the “MDM Servers” section. Then select the “Download Token” icon.

- Now, return to your Moki account and select the “Upload” button to upload the token that you just downloaded from your DEP account.
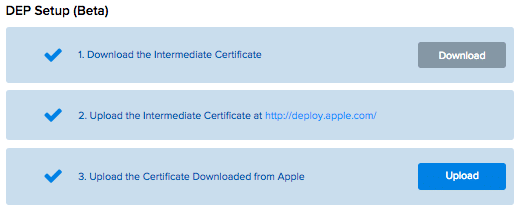
- Refresh your browser to confirm that the cert uploaded correctly.


Step 3 – Register Device Serial Numbers with DEP and Moki
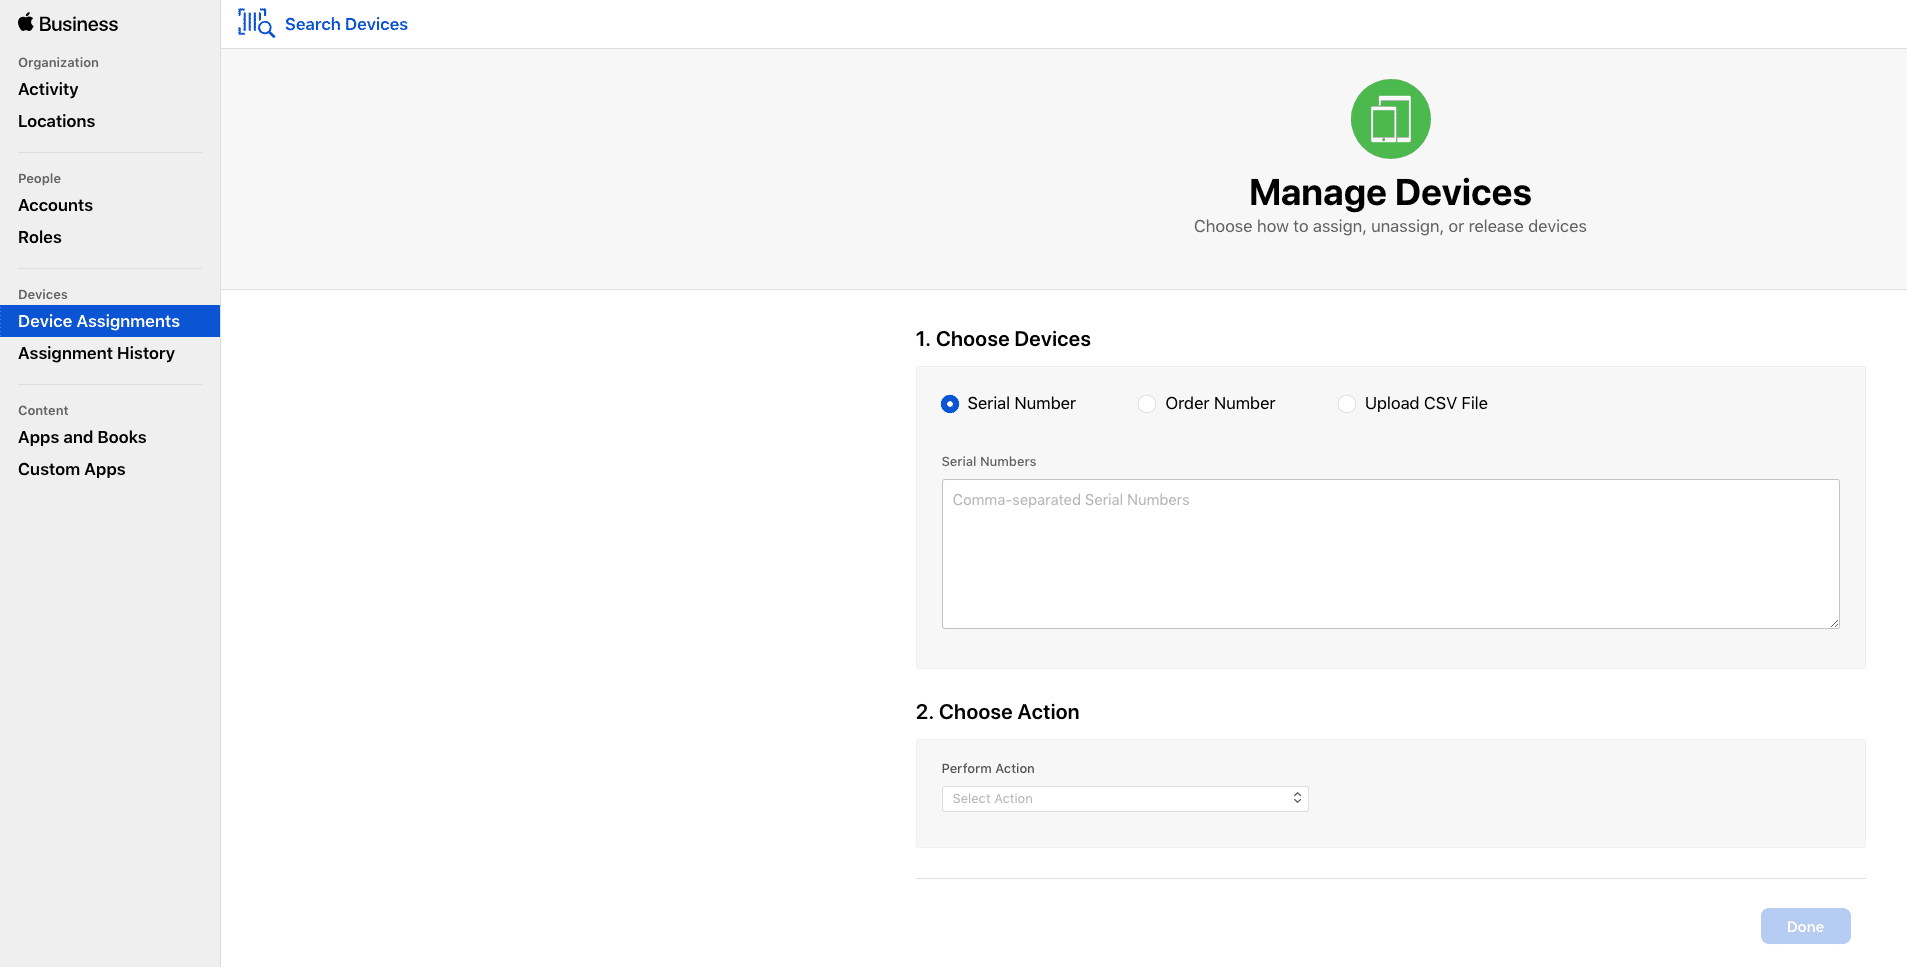
- In your DEP account click on “Device Assignments”.
- In your DEP account click on “Device Assignments”.

- Enter the serial number(s) of the devices you purchased from Apple, separated by commas or upload a .csv file with the serial numbers listed. Alternatively, if you purchased the devices directly from Apple, you can use your order number provided to you when you completed your purchase.
- Under step #2 – Choose Action, select “Assign to Server”, then select the MDM server you created earlier, and click “Done”. Those devices have now been assigned to the server that you selected.
- Under step #2 – Choose Action, select “Assign to Server”, then select the MDM server you created earlier, and click “Done”. Those devices have now been assigned to the server that you selected.
- Go back to your Moki and click on the “Enroll” tab. Copy an existing enrollment code that you created previously, or hit the “+” button, select “iOS” from the provided options and create a new one (then copy the 7 character enrollment code).
- Click on the “DEP” tab in the top navigation of your Moki account and then select “Profiles”.


- Click the “New Profile” button

- Click the “New Profile” button

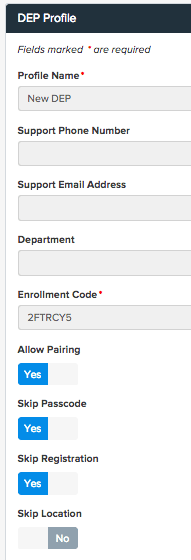
- Give the profile a name, paste in the Enrollment Code that you copied from the “Enroll” tab of Moki, and choose the options that you want the device to go through when it starts up. Anything you skip will turn that step OFF, so make sure you do not skip location or other settings that you would like to manually configure on the device, then hit “Save”. The new profile will show up under the New Profile button
- Give the profile a name, paste in the Enrollment Code that you copied from the “Enroll” tab of Moki, and choose the options that you want the device to go through when it starts up. Anything you skip will turn that step OFF, so make sure you do not skip location or other settings that you would like to manually configure on the device, then hit “Save”. The new profile will show up under the New Profile button

- Click the “Devices” tab that is within the DEP Window, next to the Profiles tab
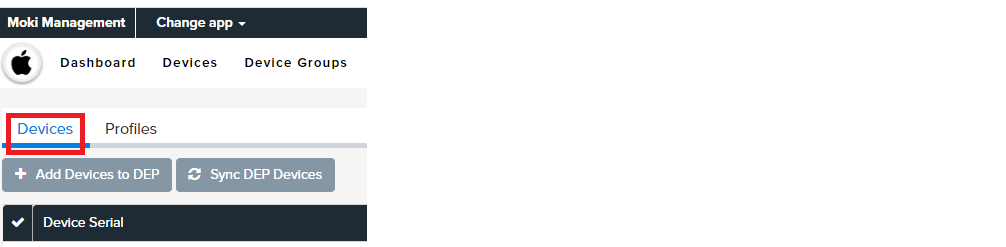
- Click the “Devices” tab that is within the DEP Window, next to the Profiles tab

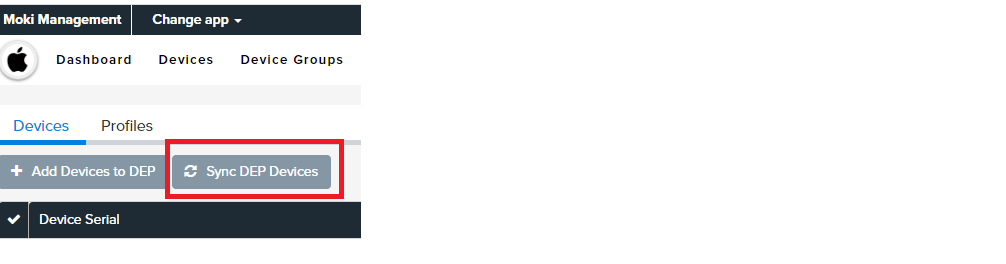
- Click the “Sync DEP Devices” button. It will take a few minutes, but the devices that you assigned to your Moki MDM Server in your DEP account will populate in this list. You may need to refresh your browser window. Alternatively, you can select the “Add Devices to DEP” button to manually add them.
- Click the “Sync DEP Devices” button. It will take a few minutes, but the devices that you assigned to your Moki MDM Server in your DEP account will populate in this list. You may need to refresh your browser window. Alternatively, you can select the “Add Devices to DEP” button to manually add them.

- Now, you need to assign the profile you created to your DEP devices. To do this, select all your devices or specific devices, then click the drop-down that says “Add Profile”. Select your profile from the list and hit “Yes” to confirm the assignment.


Step 4 – Enroll your device(s)
Finally, turn on your device and go through the startup process. You see a message that the device will be configured via DEP. All the apps, profiles, and tags associated with your Moki enrollment template will be installed on the device. Note: If your device has previously been configured or assigned to another DEP server, you will need to factory reset the device in order for it to pick up the new configuration and Moki Profile. Repeat this process on each new device in which a Moki DEP Profile was assigned. When the device has completed the enrollment process you can select the “Devices” tab in Moki and your device will be listed.

VPP Configuration
- Sign into your DEP/VPP account at https://deploy.apple.com (https://business.apple.com for business customers & https://school.apple.com for education customers).
- Once you are signed in, select “Settings” from the bottom left-hand corner of the screen.
- Then, select “Apps and Books” from the list of options.

- Agree to the terms and conditions and confirm your company’s information if necessary.
- Finally, download the VPP Token from Apple by selecting the “Download” button under the “Server Token” section. This button is located on the lower, right-hand side of the page.
- Once the token is finished downloading, sign into your www.mokimanage.com account.
- Select your account name in the upper right-hand corner of the screen and click on “Account Settings.”

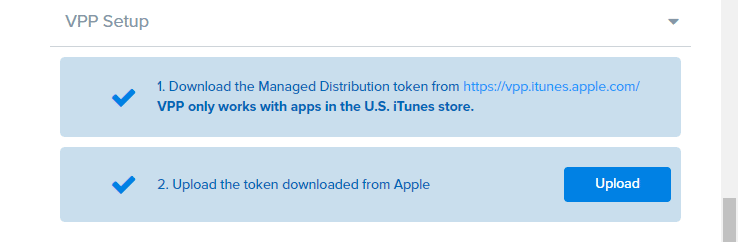
- Scroll down to the “VPP Setup” section of settings and click on the “Upload”. Then select the token file that you downloaded from Apple. This file will be a .vpptoken format.
- Once uploaded your “VPP Setup” section will look like this:
- If you have already acquired licenses for apps from VPP you will now see them in your “Apps” tab. These apps will have a “Yes” next to them under the VPP column. To assign licenses to your applications, select the “Apps and Books” tab from the options plane in your DEP account, search for the application, then assign licenses.
- Clicking on the app details in Moki will show you a new VPP information tab which shows your license statistics. You will also notice a new “Sync VPP Now” button on the app page. Clicking this button will add any newly licensed apps automatically into your Moki account.


Two Critical Notes about your VPP token:
- You can only use one VPP account in Moki. If you have multiple accounts or subtenants with the need of VPP licensing you will need one VPP account per Moki account. This is a limitation Apple places on these accounts.
- You must update your token every 365 days or every time you change your iTunes account password.
